BEFORE hardwood INSTALLATION
- A member of our team will walk you through the entire installation process, answering any questions that you might have about time table and what to expect.
- Remove any furniture from the rooms where the installation is to take place.
- Come up with a plan for your subflooring. Is the crew removing it? Are you? Does it need to be removed at all?
- Have a waste removal plan!
- Please ensure that children and pets are not present during the installation.
- Complete any painting that might need to be done.
- You will complete a last-minute walkthrough!

DURING INSTALLATION
- Make sure you have a plan for your existing hardwood or subflooring. This may need to be removed, and it costs extra if it's not something that is figured out ahead of time.
- From there, your crew will begin the hardwood installation. There are two basic methods of installation; they are glue-down and nail-down.
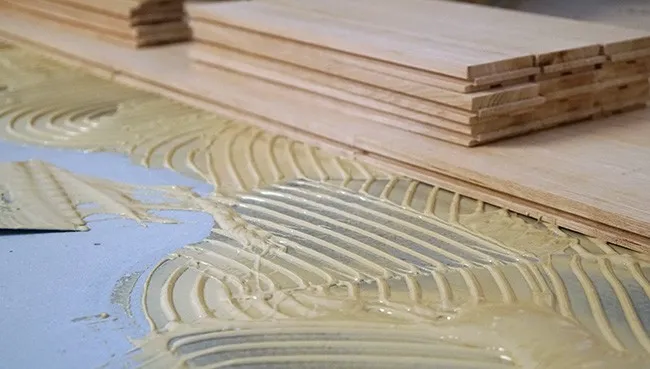
- For a glue-down hardwood installation, the general process involves spreading adhesives on your subflooring and laying the hardwood planks individually. Your crew will cut the hardwood pieces to fit the layout of the room while ensuring that no gaps exist at the culmination of the job
- For a nail-down hardwood installation, a similar process will be followed as the glue-down installation, but instead, the crew will use nails instead of adhesive.

AFTER INSTALLATION
- Complete a final walk-through with your crew to assess the quality of the job.
- Ask any questions that you might have to your crew or our team.
- Run a fan to remove any ventilation-related smells.
- If installed using the glue-down method, allow the adhesive time to dry before stepping foot on your hardwood.
- Enjoy your new floors!
